Cooking outdoors is becoming more and more popular. What makes outdoor cooking even better is having the proper tools for the job. In particular, outdoor ovens make this task very easy. However, outdoor ovens require a bit of seasoning before they can be used properly.
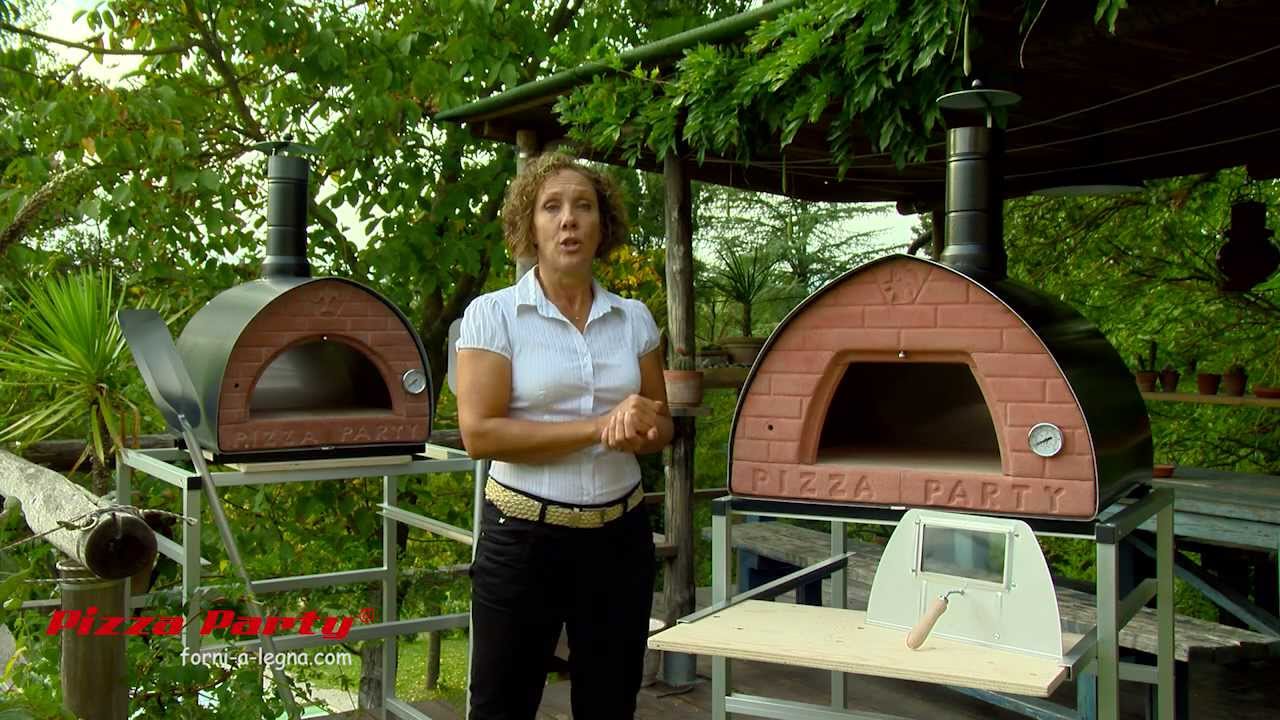
Wood-fired outdoor ovens are a great addition to any backyard. They can provide delicious, smoky flavor to your food and can be used to cook a variety of dishes. Seasoning your wood-fired outdoor oven is the best way to ensure that it will last for many years to come. In this blog post, we will explore how to season your wood-fired outdoor oven properly. Let’s get started!
1. Start by cleaning the oven.
Before starting, make sure the oven is cool, and disconnect it from the heat source. Then, remove any ash or debris from the interior and exterior of the oven. You can do this with a vacuum cleaner, or brush and dustpan. Be sure to make sure no dust particles remain in the oven.
Once the dust and debris have been removed, it’s time to season the oven. This is done by applying a thin layer of oil to the interior of the oven, followed by a thin layer of wax. This will help to protect the oven from rust and moisture, and also make it easier for food to slide in and out.
When seasoning your wood-fired outdoor oven, be sure to use an oil that is designed specifically for use with wood-fired ovens. It’s best to use an oil that is food-grade and doesn’t contain any chemicals or additives that could cause health hazards.
Once the oil and wax have been applied, it’s time to fire up the oven. Make sure the oven is set to the proper temperature, and then put some wood in the firebox. This will create an intense heat that will allow the oils and wax to bond together, creating a protective layer on the oven.
2. Coat the interior of the oven with a thin layer of oil
The type of oil you use is up to you, but it’s important to choose one that won’t burn off or smoke too quickly. Olive oil is a popular choice and provides a great flavor when used in your oven. To season your wood-fired outdoor oven with olive oil, start by preheating it to a temperature of around 500 degrees Fahrenheit. Then, take a cloth or paper towel and generously coat the inside of the oven with the oil. Be sure to spread it evenly and cover every surface. You’ll want to pour the oil over the inner walls, the bottom of the oven, and around the door opening.
Once the entire interior of your wood-fired outdoor oven is evenly coated with the oil, you can turn off the heat and let it cool. This will lock in the flavor and create a protective barrier against smoke and other debris. You can then use your oven as normal and enjoy all of the deliciousness it has to offer.
For extra protection, you can lightly coat the interior with oil every time you use the oven. This will help keep it clean and make sure the flavor of your food is as good as it can be. Seasoning your wood-fired outdoor oven with a thin layer of oil is a simple and effective way to keep it in good condition and enjoy all the deliciousness it has to offer.
Are you looking for a way to add more flavour to your wood-fired outdoor oven? If you’re looking for something that’s going to add a unique and tasty smoky flavour to your outdoor cooking, buy tørr bjørkeved 40l sekker (means, dry birch wood 40l sacks).
3. Place wood or charcoal in the oven and light it
Cooking with a wood-fired outdoor oven is an age-old tradition that is not only enjoyable, but also provides an opportunity to infuse food with a unique flavor. To begin, you must first season your oven. To do this, you’ll need to place some wood or charcoal in the oven and light it. Allow the fire to burn for a few minutes, then extinguish it. This will help to prevent the oven from discoloring and will also prepare it for cooking.
Seasoning your wood-fired oven is an essential step in the cooking process. While it doesn’t take long, it is important for the proper functioning of your oven and also to ensure that your food receives a unique flavor. After you have allowed the fire to burn for a few minutes and extinguished it, you’re ready to begin cooking.
Wood-fired ovens are ideal for many types of cuisine, including traditional wood-fired pizza, grilled meats and vegetables, and even desserts. With the right ingredients, the right fuel, and a little bit of patience, you can create delicious dishes with a unique, smoky flavor.
Repeat this process a few times, until the interior of the oven is evenly coated with a layer of soot. Once the oven is preheated, you can begin to cook. When it comes to wood-fired cooking, there are a variety of methods you can use. You can choose to cook your food directly on the oven’s surface, or you can use a baking stone or pizza pan to cook indirectly. Additionally, you can also choose to cook with a rotisserie, a spit, or even a smoker.
4. Once the oven is seasoned, it is ready to use.
Seasoning your wood-fired oven will help ensure it lasts a long time and performs at its best. By seasoning an oven, you create an environment that is highly resistant to the build-up of soot and debris, and helps to protect the oven from damage caused by high temperatures.
Once you’ve seasoned your wood-fired outdoor oven, it’s ready to use. To ensure that your oven stays in optimal condition, it’s important to clean it after each use. This will help prevent any build-up of soot and debris, and also help protect the oven from high temperatures.
When cleaning your wood-fired outdoor oven, use a soft brush and a damp cloth to wipe away any soot or debris. Avoid using any abrasive materials to clean your oven, as this can cause damage to the surface. Be sure to allow your oven to cool down before you start cleaning, and make sure to use a cloth that won’t scratch the surface of the oven.
Wind-up
Now that you have a better understanding of how to season your wood-fired outdoor oven properly, let’s take a closer look at the process. Seasoning your oven can take anywhere from a few hours to a few days. Once you have completed the process of seasoning your outdoor oven, you will be able to use your oven for all future cooking projects. I can’t wait to see what you cook in your outdoor oven! If you think this article was helpful, please consider sharing it with your friends on social media.