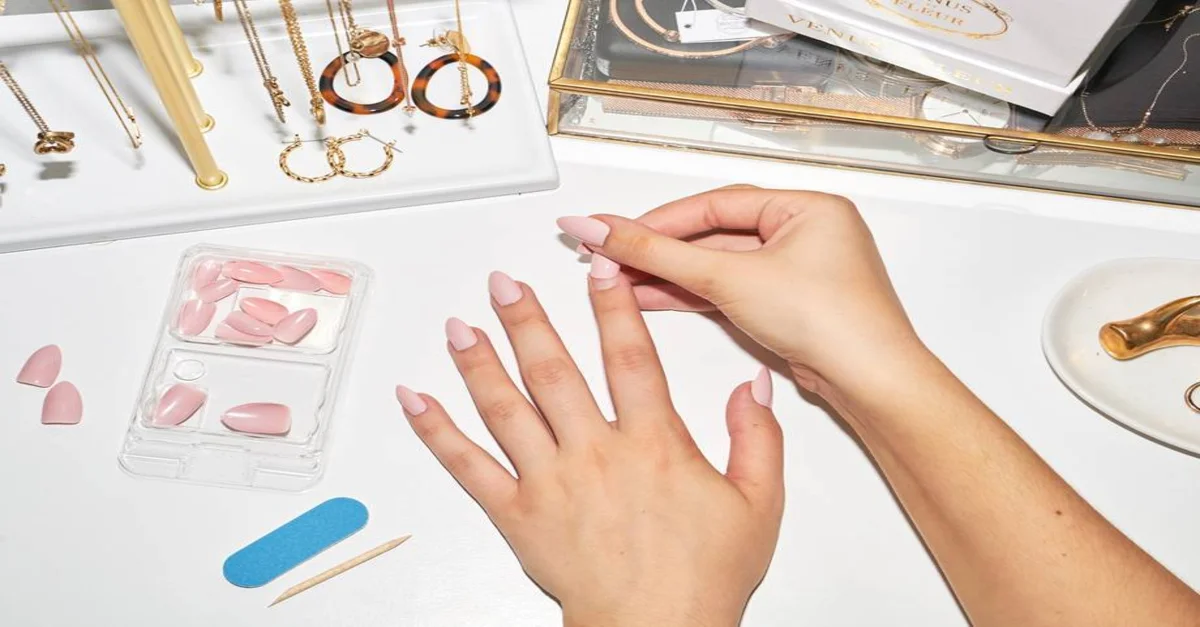
As the temperatures drop and the leaves start to change, it’s time for a new look. This fall, one of the hottest trends is press on nails. Press on nails offer an easy way to get a beautiful manicure without having to go to a salon. Keep reading for all you need to know about press on nails and how you can use them to get the perfect fall look!
What Are Press on Nails?
Press on nails are artificial nails that come in many different shapes, sizes, and styles. They are made out of either plastic or acrylic material and they are designed to be applied directly onto your natural nail bed. The great thing about press on nails is that they don’t require any additional tools or materials—just your hands! Plus, they can last up to two weeks with proper care.
Choosing Your Design
When it comes to choosing your design, the possibilities are endless! There are so many different designs available ranging from classic French tips to bright neon colors. You can really get creative with your press on nail designs and play around with different shapes like square or stiletto or mix-and-match with different colors and patterns. If you’re not sure where to start, there are plenty of tutorials online that will help walk you through the process step-by-step.
Applying Your Nails
Now that you’ve chosen your design, it’s time for application! First things first—make sure you have everything you need before getting started: a nail file, nail glue/adhesive tabs, cuticle oil (optional), and of course, your press on nails. Start by filing down your natural nails in order for them to better adhere to the press owns; this also helps create a smooth surface for easier application. Next apply adhesive tabs or glue onto each nail (the adhesive tabs tend to stay longer).
Finally take one of your press owns and carefully apply it onto each finger starting from the pinky side going up towards the thumb side; make sure each nail is firmly pressed into place before moving onto the next one. Once finished give yourself a mini-manicure by pushing back cuticles if necessary and applying cuticle oil if desired; this will help keep your main looking fresh even longer!
Tips for Applying Press on Nails
Applying press-on nails is easy if you follow these simple steps:
- Start by cleaning your natural nails with a nail brush and warm water, then drying them completely before applying the press-on nails.
- Choose a size that fits your natural nail and make sure all edges line up before pressing down firmly from one side of the nail bed to the other.
- Once applied, use a cuticle stick or small scissors to trim off any excess material around the edges of the nail bed. • Finish by filing down any sharp edges with an emery board or file before adding a top coat of clear polish or other colored varnish if desired.
Conclusion
Now that you know how easy it is get the perfect fall look with best press on nails all that’s left is for you try them out yourself! Press-on nails are an easy way to add some extra flair and style this fall season without having to commit hours of time at a salon or spend lots of money.
Similarly The Fall Press on Nails is a new product that helps you create professional looking nails in minutes. With so many options available finding something perfect for any occasion won’t be hard at all—whether its an autumnal pumpkin patch look or just an everyday classic French tip manicure these easily applied fake fingernails will have everyone asking you “where did you get those?” So what are you waiting for? Get ready for fall season with some ultra chic Manis using press-on nails!
