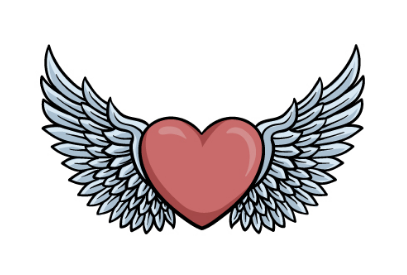
How to draw a heart with wings
Draw a heart with wings in just 6 easy steps! Heart designs have been synonymous with feelings of love and care for many years and are a recognized symbol throughout the world. You may also learn many things cartoon drawing, scary drawing, pencil drawing, creative drawing, cool things to draw, scary drawing, creative drawing, and flower drawing.
There are ways to go even further, and adding wings to the heart is a great way to represent the fluttering feeling of love. Understanding to remove a core with branches can be a wonderful way to demonstrate passion and devotion for somebody unique.
How to draw a heart with wings – allow’s acquire created!
Stage 1
We’ve all seen thousands of heart shapes in our lives, but drawing even a simple one can still be tricky! For this cause, you should use a pencil when you reach your body respectable. Once satisfied with how this soul shape looks, you’re willing to begin counting the attachments in the next few stages!
Step 2: Then start drawing the wings for the drawing.
For this first section, you will draw a long, skinny shape directly along the sides of the heart. These shapes will have sharp, rounded points at the top. You can complete this step by adding feather details to the shape you drew. These sections will be made up of many smaller pointy shapes along the length of the one you just drew. So you’re ready to move on to step 3!
Step 3: Now, draw some more feather details.
Therefore, we will continue to build on feathers. To accomplish this, we’ll remove more feather elements like the ones you counted in the earlier step. These unique little shapes will be negligibly longer than the ones you just removed, which will help to elongate the wings nicely.
Step 4: Next, draw the last sections of the feathers.
To do this, add another layer of the shapes you drew in the previous two steps. These will also be longer than the other rows, which should be the longest overall. Then all the structural details of the wings will be finished, and in the next step, we can focus on finishing the final touches in step 5.
Step 5: Now finish the last details of your heart by drawing the wings.
Some of them will be a bit curved, and some will be small and straight, depending on their location on the fenders. This will fill in the final details, but before proceeding to the final step, you can add your details! These could include enlarging the wings, adding patterns to the heart shape, or even changing the shape of the central heart. You can also draw a background or add text to make it a card for someone you love. These are just a few ideas you could use, but we can’t wait to see what else you can come up with for this cute design!
Step 6: Finish your heart with wings by drawing with some color.
You can use all your favorite colors and give each little wing shape a different color to get an idea. Then, once you understand what stains to use, you can recreate about with your favored art mediums. Colored pens or pencils could work great for this image, as there are smaller shapes to color in, but whatever you use will look great!
Three more tips to easily draw your heart with wings!
Fall in love with these wing sketch tips we have for your heart! When creating this drawing of a heart with wings, you have two main elements that you can fight with: the heart or the wings. This first piece of advice will focus on the heart. Drawing the shape of a heart can be surprisingly tricky, but there are several ways to make it easier. One would use a pencil to sketch out the rough shape that you can refine in subsequent layers.
Your drawing of a heart with wings is complete!
You have called the back of this handbook on removing a spirit with attachments! This direction has guided you that making this image accomplishes have to be hard, and it can be fun too! Recall to slow down and follow the steps carefully, and you will master this image in no time. So remember, you can customize this design too! We’ve gone over a few ways you could put your spin on it, but be sure to experiment and see what happens. Our website is full of guid